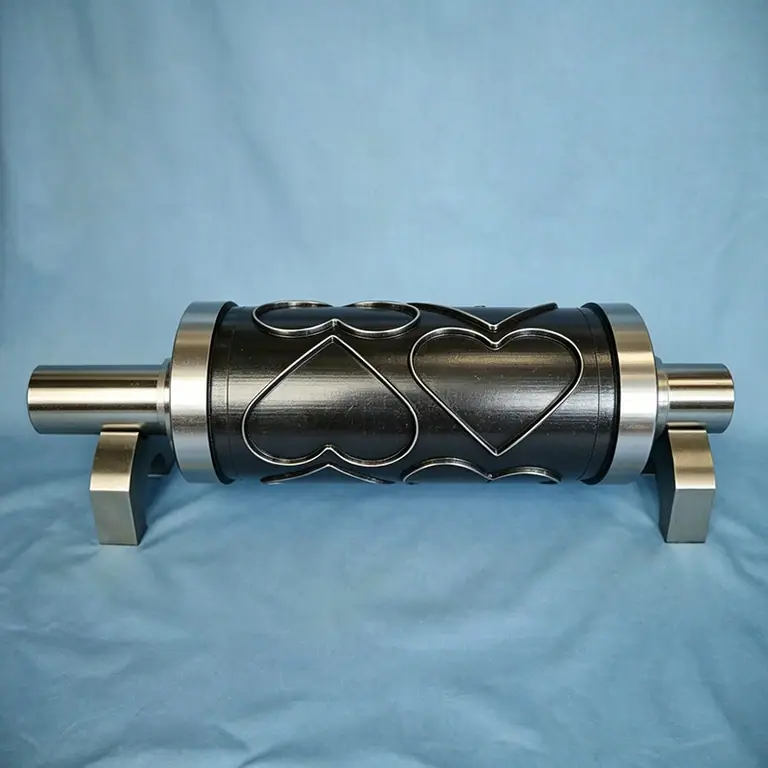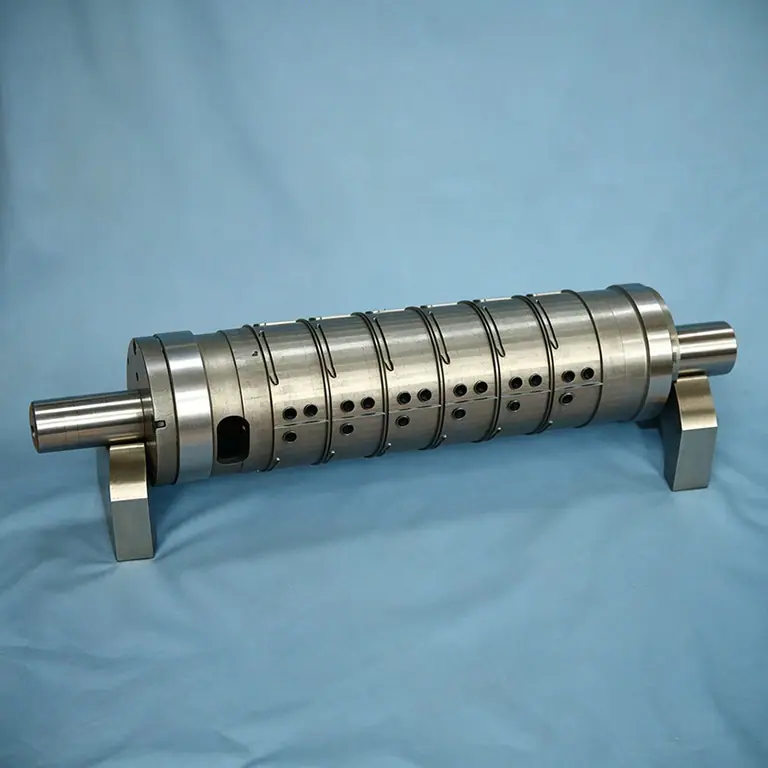
A rotary die is a consumable, but it is not a short-life one. Dies routinely come back for evaluation having used a fraction of their available life, and the reason is almost never the steel — it is an anvil that was run past its limit, or a pressure setting that crept up job after job until the edge had nothing left.
GB standard reference
- Standard
- GB/T 1299 (alloy tool steel) · GB/T 1220 (stainless)
- GB grades in this article
- Cr12Mo1V1 · Cr8Mo2SiV · W6Mo5Cr4V2
- Also sold as
- SKD11 / D2 · DC53 · M2 / SKH51
- Hardness range
- HRC 58-63
1. Pressure Setup: the Setting That Does the Damage
Cut depth on a rotary press comes from the relationship between the die edge and the anvil surface. Operators control it through bearer or cylinder loading, and this is the setting most likely to drift. Every extra increment of pressure beyond what achieves a clean cut adds side load to the teeth and accelerates edge wear without improving the result.
- 1Start from the pressure recorded when the die was new — it is on the inspection sheet for a reason
- 2Bring pressure up in small increments until the cut is clean, then stop; do not add a safety margin
- 3Re-check after the press has reached operating temperature, because thermal growth changes the gap
- 4Record the final setting on the job sheet so the next make-ready starts from a known-good value
- 5If the required pressure has risen compared with last time, investigate before accepting it
If a die that used to cut at its recorded pressure now needs more, something changed: the edge dulled, the anvil wore or embossed, or the die was refaced and its outside diameter reduced. Raising pressure masks all three while making the underlying wear worse.
2. Anvil Care: the Half of the System Nobody Watches
The anvil defines cut depth just as much as the die does, and it is usually the neglected half of the pair. It should be hard and polished so the cutting edge does not emboss into it, and it must stay round. An out-of-round or embossed anvil makes cut depth vary around every revolution, which produces the classic symptom of intermittent cut-through on part of the web.
- Inspect the anvil surface for embossing and scoring at every die change
- Check anvil roundness periodically, not only when a problem appears
- Never run a die with a damaged anvil — you are transferring the fault to the die edge
- Re-grind the anvil in step with the die so the pressure window stays where it was
- Clean adhesive and paper dust off the anvil; contamination is read as an out-of-round surface
3. Edge Inspection: What to Look For and When
Edge wear is not linear, and it does not announce itself gradually. The practical approach is to inspect at fixed intervals tied to impressions rather than to calendar time, and to look for four specific things.
| What to inspect | Good | Act now |
|---|---|---|
| Edge profile under magnification | Sharp, even land, consistent around the contour | Rounded land, bright wear band, or nicks |
| Tooth height around the die | Uniform to ±0.005 mm | Any measurable step between teeth or segments |
| Rake face | Clean and polished | Adhesive or coating build-up, or a rough torn surface |
| Segment joints (segmented dies) | Invisible in the cut | Shadow marks — segment height mismatch |
Record the inspection result against impressions run. Within two or three cycles you have a wear-rate curve for that die on that substrate, and you can schedule the next resharpening instead of discovering the need during a rush job.
4. Resharpening: the Outside-Diameter Log
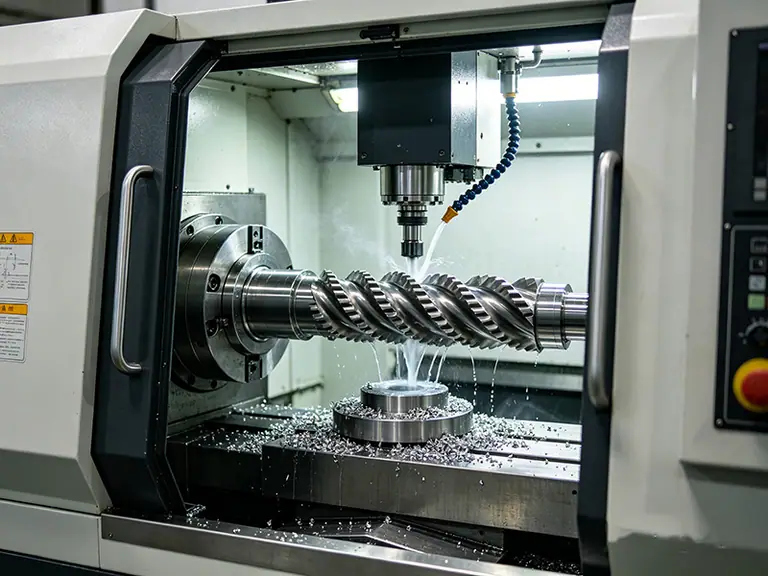
Refacing re-grinds the cutting edge to restore geometry while removing the least possible material from the outside diameter. The constraint is that every regrind reduces the die's outside diameter, which lowers the cutting edge relative to the anvil and eventually takes the tooth height below what the application can tolerate — or brings the die below its minimum usable diameter.
Typical regrinding steps are 0.05 to 0.10 mm off the radius. That sounds negligible, but it accumulates: after ten regrinds a die may have lost a millimetre of radius, and the press setup that worked on day one no longer applies. This is exactly why a die should ship with an outside-diameter log, and why every refacing should be recorded against it.
- Typical material removed per regrind
- 0.05 - 0.10 mm off radius
- What is recorded
- Outside diameter, runout, tooth height, impressions to date
- Matched work
- Anvil re-ground in step with the die
- Effect on registers
- Gear and contour are re-established from the same datum
A die without an outside-diameter history is a die whose remaining life is unknown. When you buy a new die, ask for the log; when you send one for refacing, ask for it to be updated.
5. Segmented Dies Need a Different Routine
Segmented tooling changes the maintenance economics. Instead of refacing a whole cylinder, individual segments come off the body, are re-ground to restore height and edge geometry, and go back on — or are replaced outright. Two rules keep this reliable:
- 1Match segments by height, not by age — mixing freshly ground and well-worn segments in one set produces shadow marks
- 2Keep the body flat and the mounting surfaces clean; body wear is invisible until segment height matching becomes impossible
6. Storage and Handling
A rotary die is a precision cylindrical tool with a hardened edge, and it is usually stored standing on end in a rack. That is fine provided the edge is not resting on anything and the journals are protected. The two failure modes we see most often are edge nicks from handling and corrosion on the journals from humid storage — both avoidable with edge protection, rust-proof wrapping and a dry store.
Rotary die maintenance: frequently asked questions
There is no calendar answer. Track impressions between resharpens and inspect the edge at fixed impression intervals, then build a wear-rate curve for that die on that substrate. Once you know the rate you can schedule resharpening predictably instead of reacting to a quality failure mid-job.
We reface rotary dies, re-cut matched anvils and supply replacement segments. Send us the die drawing or a photo of the current edge together with its outside-diameter history if you have it, and we will tell you how much life remains.